
Home Insulation Types for Energy Efficiency and Cost
Compare home insulation types for energy efficiency and cost, from fiberglass to spray foam, and find out which option cuts bills and fits your budget.

By Liam Weston
Learn more about Insulation Installation or Upgrade for guides, costs, and what to expect.
Compare Insulation Installation or Upgrade Pros Near You

Enter your ZIP code to compare top-rated local professionals and request free quotes.
Every homeowner feels it the moment the seasons change: a drafty room, a furnace that runs nonstop, or a utility bill that seems to climb no matter how carefully you budget. Insulation sits quietly behind your walls, above your ceiling, and under your floors, and it is one of the few home upgrades that pays you back every single month. The right material can cut heating and cooling losses, reduce noise, and make your home more comfortable without a full renovation. The wrong choice, or a sloppy installation, can leave gaps that waste money for years.
This guide walks through the main home insulation types for energy efficiency and cost, so you can compare materials, understand R-values, spot the signs your home needs an upgrade, and decide when to bring in a professional. Whether you are planning a small attic project or a whole-house improvement, the goal is the same: spend wisely now and save consistently later. If you would rather hand the job to an experienced local contractor, HomeRemodelingsContractors helps homeowners plan affordable projects and connect with trusted pros for remodeling, repairs, and upgrades.
Why Insulation Is the Quiet Workhorse of Energy Savings
Insulation works by slowing the movement of heat. In winter, it keeps warmth inside. In summer, it slows the transfer of outdoor heat into your living space. That simple function has an outsized effect on your energy bill because heating and cooling typically make up the largest share of household energy use. When insulation is thin, compressed, or missing, your HVAC system has to work harder and longer to maintain a comfortable temperature, which drives up costs and wears out equipment faster.
The U.S. Department of Energy and organizations like Energy Star note that properly sealing and insulating a home can deliver meaningful annual savings, often in the range of 10 to 20 percent on heating and cooling costs depending on climate, current conditions, and how the work is done. The exact figure varies, but the direction is consistent: better insulation means lower bills, steadier indoor temperatures, and less strain on your furnace or air conditioner.
Insulation also affects comfort in ways you notice immediately. Rooms over garages, finished basements, and bonus spaces tend to be the first to feel cold or stuffy. Adding insulation to those areas can turn them into usable living space. It can also reduce outside noise, which matters if you live near a busy road or in a noisy neighborhood.
The Main Home Insulation Types for Energy Efficiency and Cost
There is no single best insulation for every home. Each material has a different R-value per inch, cost profile, and ideal application. R-value measures thermal resistance: the higher the number, the better the material resists heat flow. Below is a practical comparison of the most common options you will encounter when comparing home insulation types for energy efficiency and cost.
Fiberglass Batts and Rolls
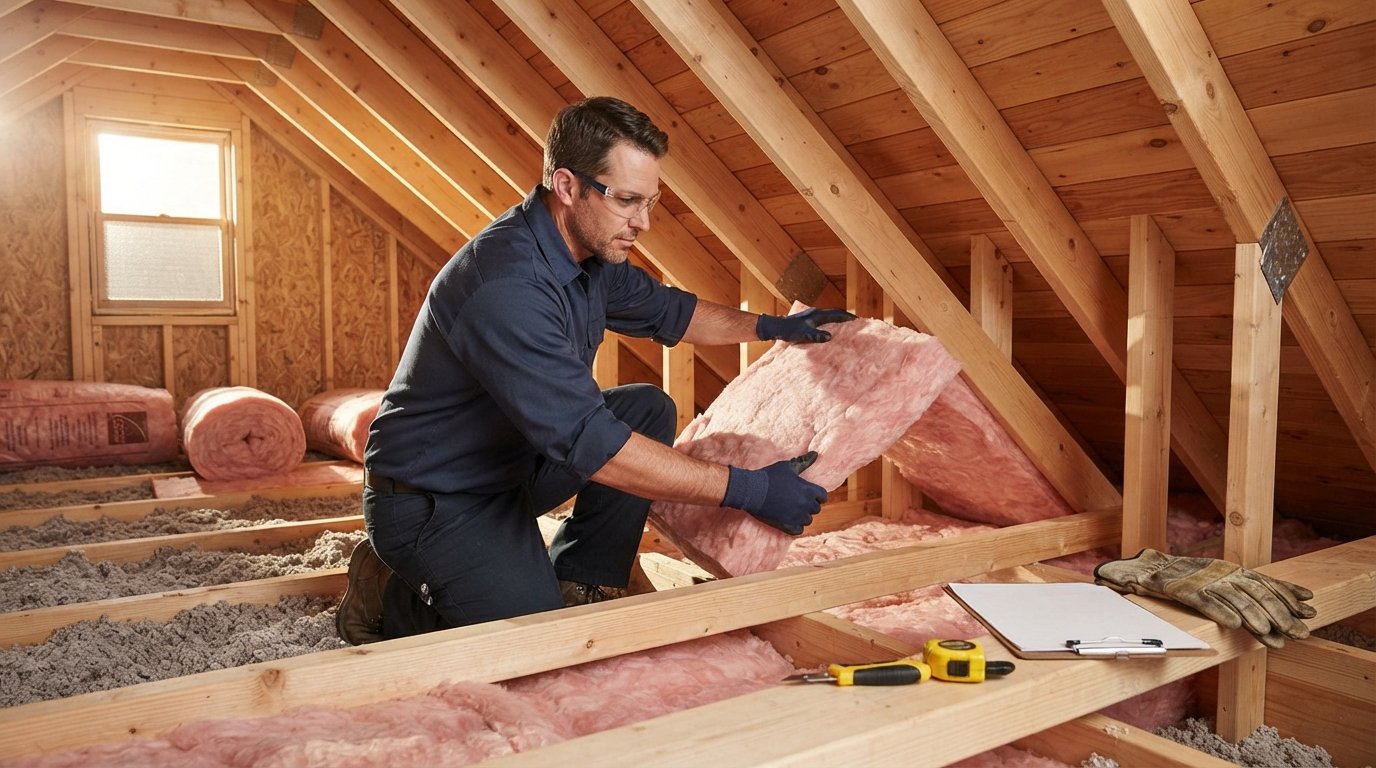
Fiberglass is the most familiar insulation in American homes. It comes in batts (pre-cut panels) and rolls, made from spun glass fibers. It is relatively inexpensive, widely available, and easy to install in open stud bays, attics, and unfinished walls. Standard batts typically range from about R-11 to R-38 depending on thickness, and material costs often fall in the range of 0.30 to 1.50 dollars per square foot before labor.
The catch is that fiberglass only performs well when it fits snugly and is not compressed. Gaps around wires, pipes, and odd framing reduce performance. It also requires protective gear during installation because the fibers irritate skin and lungs. For a straightforward attic or wall project, fiberglass remains one of the most budget-friendly choices.
Mineral Wool
Mineral wool, also called rock wool or slag wool, is made from molten rock or industrial byproducts spun into fibers. It offers R-values similar to fiberglass, often R-3.0 to R-3.3 per inch, but it has two notable advantages: it is denser, which improves sound dampening, and it is naturally fire resistant, able to withstand very high temperatures. That makes it a smart choice around basements, interior walls near noisy rooms, and areas where fire resistance is a priority.
Mineral wool typically costs more than fiberglass, often 1.00 to 2.00 dollars per square foot for materials, but many homeowners find the added comfort and safety worth the premium. It also resists moisture better than fiberglass, which helps in humid climates.
Cellulose
Cellulose is made from recycled paper, usually newsprint, treated with fire retardants. It is blown into attics, walls, and enclosed cavities, which makes it excellent for retrofits where you cannot easily open walls. Cellulose generally achieves R-3.2 to R-3.8 per inch and costs roughly 0.60 to 2.00 dollars per square foot installed, depending on density and access.
Because it is blown in, cellulose fills irregular spaces and gaps better than batts, reducing air leakage. It is also one of the more environmentally friendly options thanks to its recycled content. The main drawback is that it can settle over time, so installation quality matters. It also needs to stay dry; prolonged moisture can reduce performance.
Spray Foam
Spray foam insulation is applied as a liquid that expands into a rigid foam, sealing cracks and gaps as it cures. It comes in two main types: open cell and closed cell. Open cell foam is lighter, less expensive, and offers around R-3.6 per inch. Closed cell foam is denser, offers around R-6.5 to R-7.0 per inch, and acts as a moisture and vapor barrier. Spray foam is the top performer for air sealing, which makes it excellent for rim joists, crawl spaces, and hard-to-reach cavities.
The tradeoff is cost. Spray foam is typically the most expensive option, often 1.50 to 4.00 dollars or more per square foot installed, and it usually requires a trained professional with specialized equipment. For homeowners dealing with stubborn drafts or planning a major renovation, the performance can justify the price.
Rigid Foam Boards
Rigid foam boards, including polyisocyanurate, extruded polystyrene (XPS), and expanded polystyrene (EPS), are sold in panels. They offer high R-value per inch, roughly R-3.8 to R-6.5 depending on the type, and are commonly used on exterior walls, basement walls, and roofs. They are also useful in areas where space is tight and you need maximum performance from a thin layer.
Rigid boards cost roughly 0.50 to 3.00 dollars per square foot for materials. They must be carefully sealed at the seams to prevent air leakage, and some types need a fire-rated covering when installed indoors. They pair well with other insulation types, such as using rigid foam on the exterior and fiberglass or cellulose inside.
Reflective and Radiant Barriers
Reflective insulation and radiant barriers work differently from the materials above. Instead of slowing conductive heat flow, they reflect radiant heat away from living spaces. They are most effective in hot climates, particularly in attics, where they can reduce heat gain from the roof. They are not a substitute for traditional insulation in most cases, but they can complement it.
Radiant barriers are relatively inexpensive, often a few hundred dollars for a typical attic, but their performance depends heavily on climate and installation. In cold climates, the benefit is usually smaller.
Quick Comparison of Insulation Types
To make the tradeoffs easier to scan, here is a side-by-side look at the most common options. Costs vary by region, project size, and whether you hire a pro, so treat these as ballpark figures for planning.
- Fiberglass batts: Lowest upfront cost, decent R-value, best for open cavities and DIY-friendly projects.
- Mineral wool: Mid-range cost, excellent fire and sound resistance, good for basements and interior walls.
- Cellulose: Moderate cost, great for retrofits, fills gaps well, made from recycled material.
- Spray foam: Highest cost, best air sealing and R-value per inch, requires professional installation.
- Rigid foam board: Mid to high cost, high R-value per inch, ideal for exteriors, basements, and tight spaces.
In practice, many homes benefit from a combination. For example, a homeowner might use spray foam at the rim joists, cellulose in the attic, and rigid foam on basement walls. A good contractor can recommend a mix that fits your climate, budget, and existing construction.
How to Choose the Right Insulation for Your Home
Choosing insulation is not just about picking the highest R-value. You need to match the material to the location, the climate, and your budget. The right approach starts with understanding where your home is losing energy and how much you are willing to invest upfront for long-term savings.
Start With an Energy Audit
Before buying anything, find out where the problems are. A professional energy audit uses tools like blower doors and thermal imaging to locate air leaks, under-insulated areas, and moisture issues. Many utility companies offer rebates or low-cost audits. If a full audit is not in the budget, you can do a basic walkthrough: check attic insulation depth, feel for drafts around windows and doors, and look for gaps around pipes and wiring.
Match Insulation to the Space
Different areas call for different materials. Attics are usually the easiest and most cost-effective place to add insulation, and blown-in cellulose or fiberglass works well there. Walls are trickier; if they are already finished, blown-in insulation or spray foam may be the only practical options. Basements and crawl spaces benefit from rigid foam or closed cell spray foam because they handle moisture better. Exterior walls can use rigid foam boards under new siding.
Consider Climate and R-Value Targets
The DOE publishes recommended R-values by climate zone. Colder regions need higher R-values, especially in attics and walls. Hot climates may prioritize radiant barriers and air sealing alongside insulation. Your contractor should know the local code requirements and recommend R-values that meet or exceed them.
Weigh Upfront Cost Against Long-Term Savings
Cheaper materials can be a smart choice if they are installed well and the space is easy to access. More expensive options like spray foam make sense when air sealing is a priority or when access is difficult. A simple way to evaluate is to compare the installed cost against estimated annual savings. Many insulation projects pay for themselves within a few years, especially in older homes with minimal insulation.
Typical Costs and What Drives Them
Insulation costs vary widely based on material, square footage, accessibility, and labor rates in your area. As a general guide, homeowners often spend between 1,500 and 6,000 dollars for a whole-house insulation project, though smaller attic-only jobs can cost a few hundred dollars and large spray foam projects can exceed 10,000 dollars.
Several factors push costs up or down:
- Square footage: More area means more material and labor.
- Accessibility: Finished walls, tight crawl spaces, and complex rooflines increase labor time.
- Material choice: Spray foam costs far more than fiberglass or cellulose.
- Removal of old insulation: If old material is damaged or contaminated, removal and disposal add cost.
- Air sealing and ventilation: Adding sealing or baffles improves performance but adds labor.
Rebates and tax incentives can offset part of the cost. Many utilities offer rebates for insulation upgrades, and federal programs have historically provided tax credits for energy-efficient improvements. Check current incentives before you commit, and ask your contractor whether they handle rebate paperwork.
Signs Your Home Needs More Insulation
You do not need to wait for a professional audit to suspect a problem. A few common signals suggest your insulation is underperforming. If your energy bills spike in extreme weather, if certain rooms are always too hot or too cold, or if you can see joists in the attic because insulation is below them, it is time to investigate. Drafts around outlets, cold floors in winter, and ice dams on the roof are other clues.
Older homes are prime candidates. Many were built when energy codes were minimal or nonexistent. Even newer homes can have gaps if insulation was compressed or installed poorly. Addressing these issues is often one of the highest-return improvements a homeowner can make, and it pairs well with other efficiency upgrades. For seasonal maintenance that protects your home's energy performance year-round, our guide on summer home maintenance for energy efficiency covers practical steps like sealing air leaks, servicing cooling systems, and checking attic ventilation.
DIY vs Professional Installation
Some insulation projects are realistic for handy homeowners. Rolling out fiberglass batts in an unfinished attic or adding rigid foam to a basement wall can be done with basic tools and safety gear. Blown-in cellulose is also a popular DIY option, with many home improvement stores lending machines to customers who buy the material.
Other projects are best left to professionals. Spray foam requires specialized equipment and training, and mistakes can be costly. Finished walls, complex roof assemblies, and homes with moisture problems need an expert eye. A professional can also ensure proper air sealing, ventilation, and code compliance, which are just as important as the insulation itself.
If you decide to hire, compare at least three local contractors, ask for references, and confirm licensing and insurance. BuySellRemodel connects homeowners with vetted local pros and free estimates, which makes it easier to compare options and move forward with confidence. The platform focuses on affordable home improvement, covering remodeling, repairs, upgrades, and estimates, so you can find the right specialist for insulation or any related project.
Maximizing Your Return on Insulation
Insulation delivers the best results when it is part of a broader efficiency strategy. Pair it with air sealing, which stops leaks around windows, doors, and penetrations. Upgrade to a smart thermostat so your HVAC system runs only when needed. Maintain your equipment with regular service, and consider adding ventilation in attics and crawl spaces to prevent moisture buildup.
Prioritize the attic first in most homes. It is usually the easiest and most cost-effective area to improve, and it has a big impact on overall comfort. Then tackle basements, crawl spaces, and walls as budget allows. Keep records of your upgrades; documented efficiency improvements can appeal to buyers and may qualify for incentives.
The bottom line is simple: insulation is one of the few home improvements that reduces your bills, improves comfort, and can increase resale appeal. By comparing home insulation types for energy efficiency and cost, you can choose a solution that fits your budget and your climate. Whether you install it yourself or hire a professional, the savings start the moment the work is done.