
DIY versus Professional for Bathroom Tile Installation
Compare DIY versus professional for bathroom tile installation, from waterproofing risks to real costs. Call (833)-365-8755 for free local estimates.

By Leo Cross
Learn more about Tile Installation and Replacement for guides, costs, and what to expect.
Compare Tile Installation and Replacement Pros Near You

Enter your ZIP code to compare top-rated local professionals and request free quotes.
You have picked out the tile, measured the shower walls, and watched enough tutorials to feel almost ready. Then a quiet question creeps in: should you really do this yourself, or is this the moment to call a pro? Bathroom tile installation is one of the most visible upgrades in a remodel, and it is also one of the least forgiving. A single sagging backer board or a missed waterproofing seam can turn a weekend project into a months-long repair. This guide walks through the real skills, costs, and failure points so you can decide with clear eyes instead of wishful thinking.
The Skills and Tools a Tile Job Actually Demands
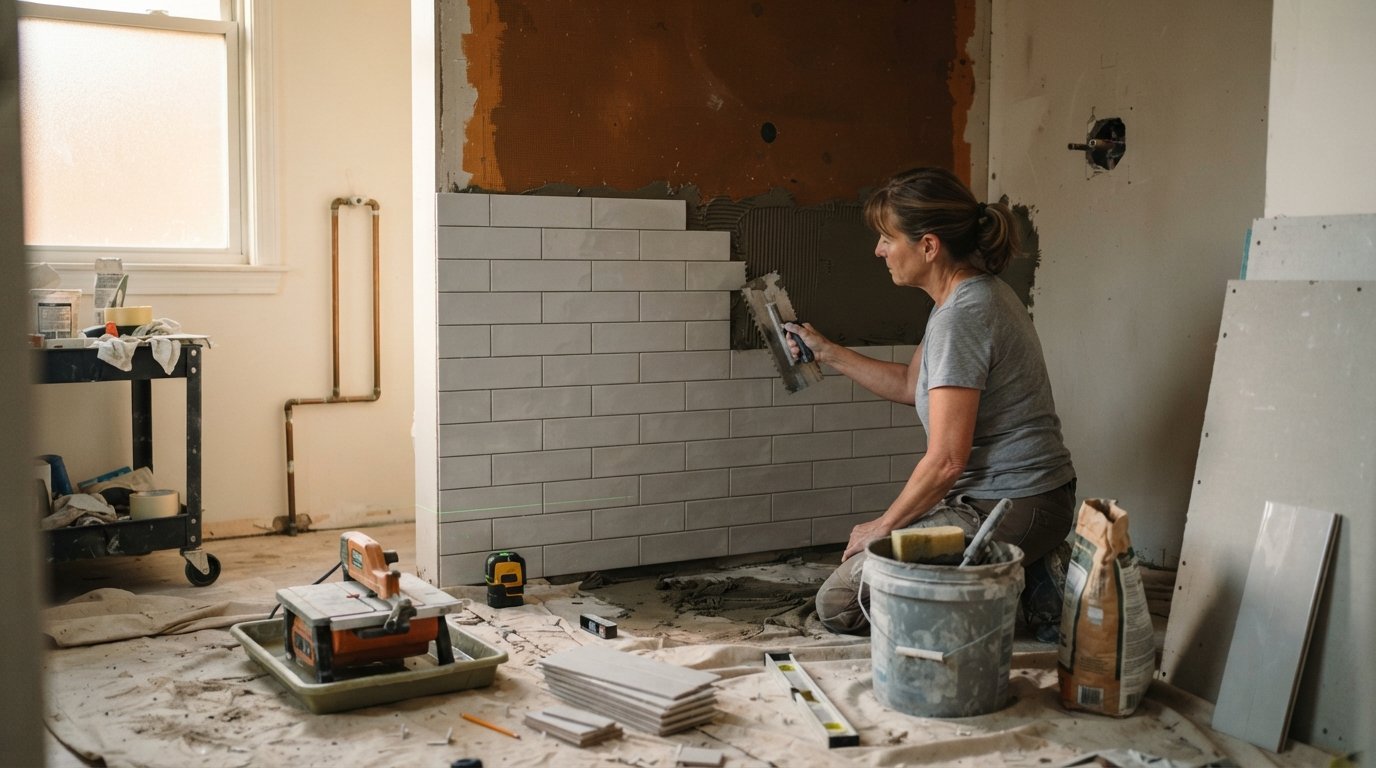
Tile setting looks simple on video: spread thinset, press tile, wipe grout. In practice, a durable install depends on flat substrates, precise layout, and controlled movement at every joint. Professionals spend years learning how to handle out-of-square walls, uneven slabs, and the subtle differences between porcelain, ceramic, and natural stone. If your bathroom has a cast-iron tub, a sloped shower pan, or a window inside the wet zone, the difficulty rises quickly.
Before you decide, honestly inventory the tools and skills below. Most homeowners own a drill and a level; far fewer own a wet saw, a mixing paddle, or a laser level. You can rent specialty tools, but rentals add pressure because every extra day costs money. The table below shows the core items and why they matter.
- Wet saw or high-quality snap cutter: Porcelain and large-format tile require clean, chip-free cuts. A cheap snap cutter will struggle with hard porcelain and mosaic sheets.
- Mixing paddle and drill: Thinset must be mixed to the right consistency. Hand mixing rarely achieves the uniform texture needed for proper adhesion.
- Notched trowel and leveling system: Trowel size must match tile size, and lippage control clips help keep large tiles flat with each other.
- Waterproofing materials: Cement backer board, waterproof membrane, and sealant are not optional in wet areas; they are the difference between a sound install and a mold problem.
- Patience and layout skills: Planning the tile grid so cuts land in less visible areas takes practice and a sharp eye for symmetry.
If you cannot confidently check most of these boxes, the DIY path becomes a gamble. That does not mean you must hire out, but it does mean you should price the learning curve into your timeline. Many homeowners discover that the cost of buying or renting tools, plus the value of their weekends, narrows the gap between DIY and professional pricing more than expected.
Where DIY Tile Failures Happen and What Repairs Cost
The most common failures are not dramatic explosions of tile; they are slow, quiet problems. Water seeps behind a poorly sealed niche, grout cracks along a floor transition, or a tile pops loose because the thinset skimmed over before it was pressed down. Each of these issues can be traced back to a small shortcut that seemed harmless at the time.
Waterproofing mistakes are the most expensive. In a shower, a missing pre-slope, an unsealed corner, or backer board installed without a vapor barrier can allow moisture to reach framing and drywall. By the time you notice soft drywall or a musty odor, the repair often involves removing tile, replacing substrate, and treating for mold. That scope can easily run into thousands of dollars, far more than the original labor quote you were trying to avoid.
Other common failure points include:
- Lippage and uneven tiles: Caused by an unflat substrate or skipped leveling clips. Fixing it means removing and resetting tiles, which risks damaging adjacent pieces.
- Poor cuts around fixtures: Jagged edges around valves and drains are visible and can compromise waterproofing if sealant does not bond cleanly.
- Grout and caulk failures: Grout in corners instead of flexible caulk cracks with seasonal movement, opening a path for water.
- Hollow tiles: Insufficient thinset coverage creates voids that weaken the bond and can lead to cracked tiles under foot traffic.
Repair costs vary by region and scope, but the pattern is consistent: fixing a failed shower pan or redoing a waterproofing layer costs significantly more than the original installation. That asymmetry is the core financial argument for hiring a professional when the job involves a wet area. For a broader look at how bathroom remodeling budgets break down, see this guide to bathroom remodel cost per square foot, which helps you compare labor and material lines before you commit.
Time Investment: Weekends versus a Crew
A typical bathroom floor of 40 to 60 square feet might take an experienced setter a day or two to prep and tile, plus grouting and sealing on a follow-up visit. A first-time DIYer should expect two to four times that, especially if the substrate needs repair. Wall tile in a shower adds layout complexity, and mosaic sheets demand careful alignment to avoid visible seams.
The hidden time cost is drying and curing. Thinset needs time before grout, grout needs time before sealing, and waterproofing membranes need cure time before tile goes down. Professionals schedule these steps efficiently because they do them daily. DIYers often lose evenings and weekends waiting between phases, which stretches a one-week project into a month of disrupted living space.
There is also the question of disruption. A bathroom is a high-traffic room. If it is your only full bath, extended downtime affects the whole household. Hiring a crew compresses the schedule and limits the period when fixtures are unusable. That convenience has real value, even if the labor line on the invoice feels high.
Waterproofing Mistakes That Lead to Moisture Damage
Waterproofing is where the gap between DIY and professional is widest. A professional tile setter treats waterproofing as a system: proper substrate, reinforced corners, sealed penetrations, and a continuous membrane that directs water to the drain. A DIYer often treats it as a step to rush through, and that is exactly where moisture damage begins.
Common waterproofing errors include installing cement board without embedding the seams in thinset and tape, skipping waterproofing on niche and bench surfaces, and using the wrong sealant at changes of plane. In steam showers and curbless designs, the requirements are stricter still, and a small oversight can lead to persistent moisture behind the tile. Mold remediation and substrate replacement are expensive, and they often come with the added cost of matching discontinued tile.
If your project involves a shower, a tub surround, or any surface that will see direct water, the risk calculus shifts. This is the point where many homeowners decide that the peace of mind of a professional install is worth the premium. If you want to compare vetted local contractors for the job, a platform like USremodel can connect you with independent professionals who handle bathroom remodeling and tile work, so you can get estimates without cold-calling every listing in your area.
Cost Comparison: DIY versus Professional for Bathroom Tile Installation
On paper, DIY looks cheaper because you are not paying for labor. In practice, the gap narrows once you add tools, materials, and the cost of mistakes. A basic porcelain floor install might cost a few hundred dollars in materials for a small bathroom, while a professional install adds labor that can range widely by region and job complexity. The decision often comes down to whether the savings justify the risk in a wet area.
Consider the following factors when building your comparison:
- Tool purchases and rentals: A wet saw, mixing paddle, trowels, and leveling system can add hundreds of dollars if you do not already own them.
- Material waste: First-time cuts and layout errors often increase waste, and specialty tile is not cheap to replace.
- Repair risk: A failed waterproofing job can cost more than the entire professional labor line.
- Time value: Multiply your weekend hours by what your time is worth to you, and the DIY savings shrink further.
The honest conclusion is that DIY can make sense for a small, dry-area floor with simple tile and an accessible substrate. For showers, complex layouts, large-format tile, or anything with existing water damage, the professional route is usually the lower-risk financial choice. Getting a free estimate is the fastest way to see the real number for your specific bathroom rather than guessing from averages.
How to Decide and Where to Get Help
Use a simple decision framework. If the job is a small floor in a dry area, the substrate is sound, and you are comfortable with layout and cutting, DIY is reasonable. If the job involves a shower, a tub surround, natural stone, large-format tile, or any sign of prior moisture damage, hire a professional. If you are somewhere in between, get two or three estimates and compare them against your DIY budget, including tools and a contingency for mistakes.
Whichever path you choose, plan the waterproofing first, buy a little extra tile, and do not rush the cure times. For homeowners who want to move forward with confidence, requesting free estimates from vetted local contractors is a practical first step. You can call (833)-365-8755 to speak with a team that helps homeowners plan affordable projects and connect with experienced professionals, or start with an online request and compare quotes side by side. The right choice is the one that protects your bathroom, your budget, and your weekends.