
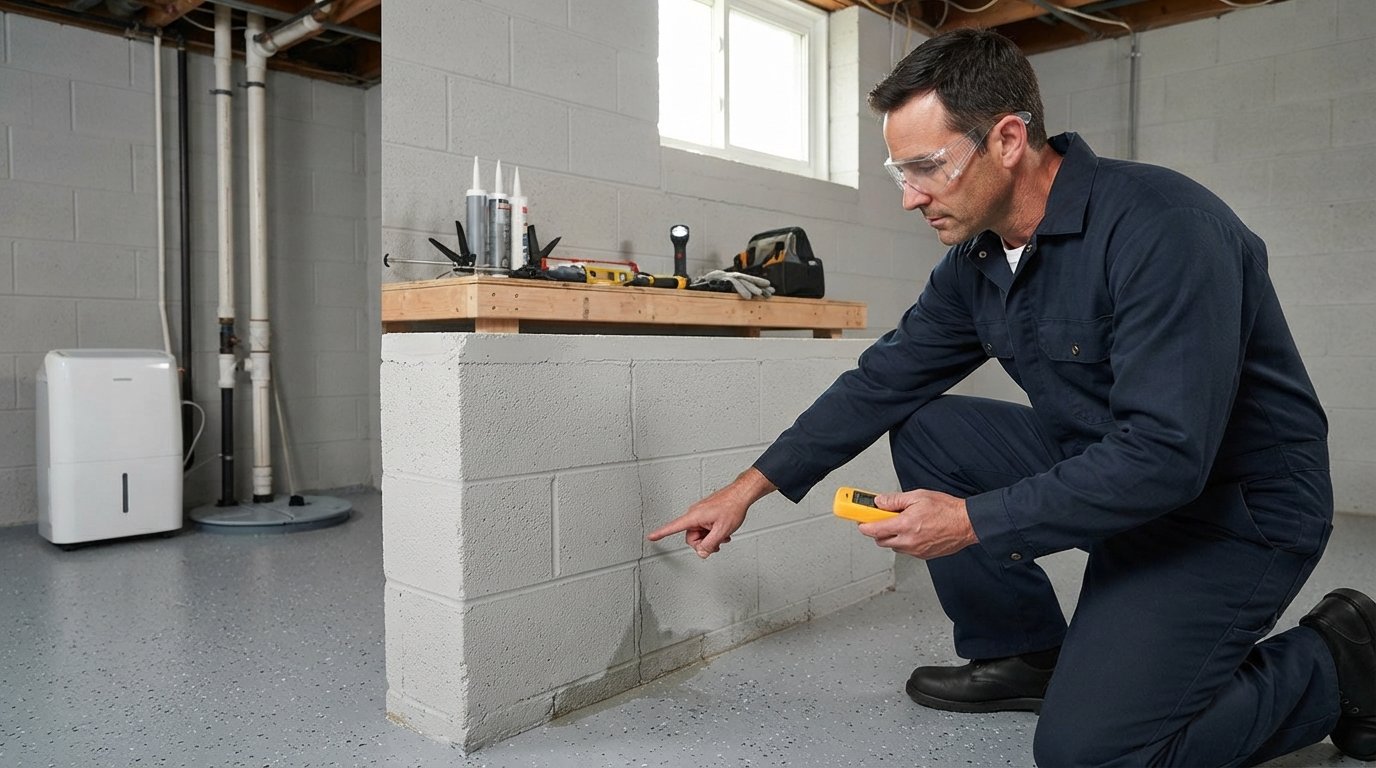
Basement Waterproofing Methods and Cost Comparison
Compare basement waterproofing methods and cost comparison details, from sealants to full drainage systems, so you can choose the right fix for your budget.

By Leo Cross
Learn more about Home Waterproofing for guides, costs, and what to expect.
Compare Home Waterproofing Pros Near You

Enter your ZIP code to compare top-rated local professionals and request free quotes.
A wet basement is more than an inconvenience. It can undermine your home's foundation, destroy stored belongings, and create a persistent musty odor that signals mold growth. If you have noticed damp walls, white powdery deposits, or water pooling after heavy rain, you are not alone. Millions of homeowners face some form of basement moisture each year. The good news is that modern waterproofing offers several proven solutions, and understanding the methods and costs involved helps you make a confident, budget-conscious decision.
This guide breaks down the most common basement waterproofing methods and cost comparison details so you can weigh upfront investment against long-term protection. Whether you are dealing with a minor seepage issue or a fully wet basement, knowing what each approach involves, how long it lasts, and what it typically costs puts you in control of the project.
Why Basement Waterproofing Matters for Your Home
Water intrusion rarely fixes itself. Small cracks widen with freeze-thaw cycles, and chronic dampness quietly degrades building materials. A wet basement can lead to foundation settlement, wood rot, rusted appliances, and poor indoor air quality. Mold and mildew thrive in damp environments and can aggravate allergies and respiratory conditions for your family.
Beyond health and structural concerns, a dry basement adds usable square footage. Many homeowners convert that space into a home office, gym, or guest suite, increasing property value in the process. If you plan to sell, a history of water problems can scare off buyers or force price reductions. Addressing moisture early is almost always cheaper than repairing the damage later.
Waterproofing also protects your investment in other home improvements. A finished basement without proper moisture control is a risky project. Before you invest in flooring, drywall, or furnishings below grade, you need a reliable waterproofing strategy in place.
Interior vs Exterior Waterproofing: The Core Decision
Every waterproofing project starts with a fundamental choice: manage water from the inside or stop it from the outside. Interior systems collect water that has already entered and channel it away. Exterior systems prevent water from reaching the foundation in the first place. Each has trade-offs in cost, disruption, and effectiveness.
Interior waterproofing is generally less expensive and can be done in almost any weather. It does not require digging up your yard or landscaping. However, it does not address the external pressure causing the water to enter. Exterior waterproofing tackles the root cause but involves excavation, heavier equipment, and a higher price tag. In some cases, a combination of both approaches provides the best long-term result.
Your soil type, water table level, foundation condition, and budget all influence which direction makes sense. A local waterproofing contractor can assess your specific situation and recommend the most cost-effective path.
Common Basement Waterproofing Methods
Below are the most widely used methods, ranging from simple DIY-friendly fixes to full-scale professional systems. Understanding each option helps you compare quotes accurately.
1. Interior Drainage Systems (French Drains and Sump Pumps)
An interior drainage system involves installing a perforated pipe along the inside perimeter of your basement floor, usually embedded in gravel and covered with concrete. Water that seeps through the walls or floor enters the pipe and flows to a sump pit, where a sump pump discharges it away from the house. This is one of the most reliable methods for managing hydrostatic pressure and groundwater.
Costs for interior drainage typically range from $2,000 to $7,000, depending on basement size and pump quality. A battery backup system adds $300 to $800. This method works well for finished basements because it does not require tearing out walls or digging outside. It is also effective year-round, provided the pump has power.
2. Exterior Waterproofing Membranes and Footing Drains
Exterior waterproofing starts with excavating the soil around your foundation down to the footing. A waterproof membrane or coating is applied to the exterior walls, and a footing drain (perforated pipe) is installed to carry water away. The excavation is then backfilled with gravel and soil. This approach stops water before it reaches the foundation and relieves hydrostatic pressure.
Because of the excavation and labor involved, exterior waterproofing costs more, typically $5,000 to $15,000 or higher for larger homes. It is the most permanent solution and can last 30 years or more. However, it disrupts landscaping, driveways, and decks, and may not be feasible in tightly spaced urban lots.
3. Sealants and Crystalline Coatings
For minor cracks and damp spots, applying a waterproof sealant or crystalline coating to interior walls can be a low-cost first step. These products penetrate the concrete and expand to block tiny openings. They are best for hairline cracks and mild condensation, not for active leaks or high water pressure.
DIY sealant kits cost $50 to $300, while professional application runs $500 to $2,000. This method is inexpensive but temporary. It may need reapplication every few years and will not solve underlying drainage problems.
4. Crack Injection (Epoxy and Polyurethane)
Epoxy and polyurethane injections are used to seal individual cracks in poured concrete walls and floors. Epoxy is rigid and works for stable cracks, while polyurethane expands and remains flexible, making it better for cracks that may move. A professional typically drills ports along the crack and injects the material under pressure.
Costs range from $300 to $800 per crack, depending on length and accessibility. This is a targeted repair, not a whole-basement solution. It is often combined with drainage systems for comprehensive protection.
5. Dehumidification and Ventilation
Sometimes the problem is not liquid water but high humidity. A dehumidifier removes moisture from the air, preventing condensation and mold. Proper ventilation, such as an air exchanger or vents, can also help. These solutions do not stop water intrusion but manage the symptoms.
A quality dehumidifier costs $200 to $1,500, with higher-capacity units costing more. Operating costs depend on electricity rates and run time. This method is often used alongside other waterproofing measures.
6. Grading, Gutters, and Downspout Extensions
Poor exterior drainage is a leading cause of basement water. If your yard slopes toward the house or gutters discharge too close to the foundation, water pools around the base and eventually finds its way inside. Regrading the soil, cleaning gutters, and adding downspout extensions are simple, low-cost fixes.
These improvements cost $100 to $2,000, depending on the scope. They are often the first step any contractor will recommend. In many cases, correcting exterior drainage alone solves minor seepage issues.
Basement Waterproofing Cost Comparison Table
To make the comparison easier, here is a summary of typical cost ranges for each method. Keep in mind that prices vary by region, basement size, and the extent of water damage.
- Interior drainage system with sump pump: $2,000 to $7,000; lifespan 20+ years; best for finished basements and high water tables.
- Exterior waterproofing with membrane and footing drain: $5,000 to $15,000+; lifespan 30+ years; best for severe leaks and new construction.
- Sealants and crystalline coatings: $50 to $2,000; lifespan 2 to 5 years; best for minor dampness and hairline cracks.
- Crack injection (epoxy or polyurethane): $300 to $800 per crack; lifespan 5 to 10 years; best for isolated cracks.
- Dehumidifier and ventilation: $200 to $1,500; lifespan 5 to 10 years; best for humidity control.
- Grading, gutters, and downspout extensions: $100 to $2,000; lifespan varies; best for preventing surface water intrusion.
These figures are national averages. Urban areas with higher labor costs will trend toward the upper end. Always get multiple quotes and ask for a detailed scope of work so you can compare apples to apples.
Factors That Affect Your Waterproofing Cost
Several variables can push your project cost up or down. Understanding them helps you anticipate the final bill and avoid surprises.
Basement size and layout: A larger basement requires more materials and labor. Finished basements with drywall, flooring, and built-ins are harder to access and may require partial demolition.
Severity of water problem: A single crack is cheap to fix. A fully wet basement with hydrostatic pressure demands a comprehensive system, which costs more.
Foundation type: Poured concrete, block, and stone foundations each require different techniques. Stone foundations, common in older homes, are often the most challenging and expensive to waterproof.
Accessibility: Exterior excavation is difficult if your foundation is surrounded by decks, patios, or mature landscaping. Limited access increases labor time and cost.
Permits and inspections: Some municipalities require permits for drainage work or sump pump installation. Permit fees can add $100 to $500.
Warranty and reputation: Contractors offering long-term warranties may charge more upfront, but the peace of mind can be worth it. Always verify that the warranty is transferable if you sell your home.
How to Choose the Right Waterproofing Method
The best method depends on your specific problem, budget, and long-term plans. Start by identifying the source of the water. Is it coming through walls, the floor, or seams? Is it only during heavy rain, or is it constant? A professional inspection will answer these questions.
If you plan to finish your basement, invest in a robust interior drainage system with a reliable sump pump. If you have severe structural issues or a high water table, exterior waterproofing may be necessary. For minor dampness, start with exterior grading and sealants before committing to a larger project.
It also helps to think about resale. A dry basement is a selling point. Keep records of your waterproofing work and any warranties. Buyers appreciate documented maintenance.
When you are ready to hire a pro, HomeRemodelingsContractors connects homeowners with experienced local contractors for basement waterproofing and other home improvement projects. They offer free estimates so you can compare options and move forward with confidence.
DIY vs Professional Waterproofing: What Makes Sense
Some tasks, like cleaning gutters, extending downspouts, and regrading soil, are manageable for handy homeowners. These low-cost fixes can solve minor issues and are worth trying first. Applying sealants to small cracks is also a reasonable DIY project if you follow product instructions carefully.
However, interior drainage systems, sump pump installation, exterior excavation, and crack injection are best left to professionals. These jobs require specialized tools, knowledge of local building codes, and physical labor. A mistake can worsen the problem or create new leaks. Plus, professional work often comes with a warranty that DIY efforts lack.
If you are unsure, get a professional assessment. Many contractors offer free or low-cost inspections. They can tell you whether a simple fix will suffice or if a more comprehensive system is needed.
Maintenance Tips to Keep Your Basement Dry
Once your waterproofing is in place, a little maintenance goes a long way. Here are a few habits to protect your investment:
- Test your sump pump every few months, especially before rainy season. Pour water into the pit and confirm the pump activates and discharges properly.
- Clean gutters at least twice a year to prevent overflow near the foundation.
- Keep downspout extensions in place and ensure they discharge at least 6 feet from the house.
- Monitor for new cracks or damp spots, and address them promptly.
- Maintain proper grading so soil slopes away from the foundation.
These simple steps can extend the life of your waterproofing system and prevent costly repairs down the road.
Financing and Budgeting for Your Project
Waterproofing is an investment, but you do not always need to pay the full amount upfront. Many contractors offer financing options or payment plans. Some companies provide free estimates and flexible scheduling to fit your budget. If you are planning a larger renovation, consider bundling waterproofing with other basement improvements to save on labor and mobilization costs.
It also helps to prioritize. If your budget is tight, start with the most critical fixes, such as exterior drainage and crack injection, then save for a full interior system later. A phased approach can make the project more manageable.
Remember that delaying repairs often leads to bigger expenses. A small leak today can become a flooded basement tomorrow. Addressing the issue early is the most cost-effective strategy.
By understanding the methods and costs outlined here, you can make an informed decision that protects your home and your wallet. Whether you choose a simple sealant or a full exterior membrane, the goal is the same: a dry, healthy, and usable basement.