
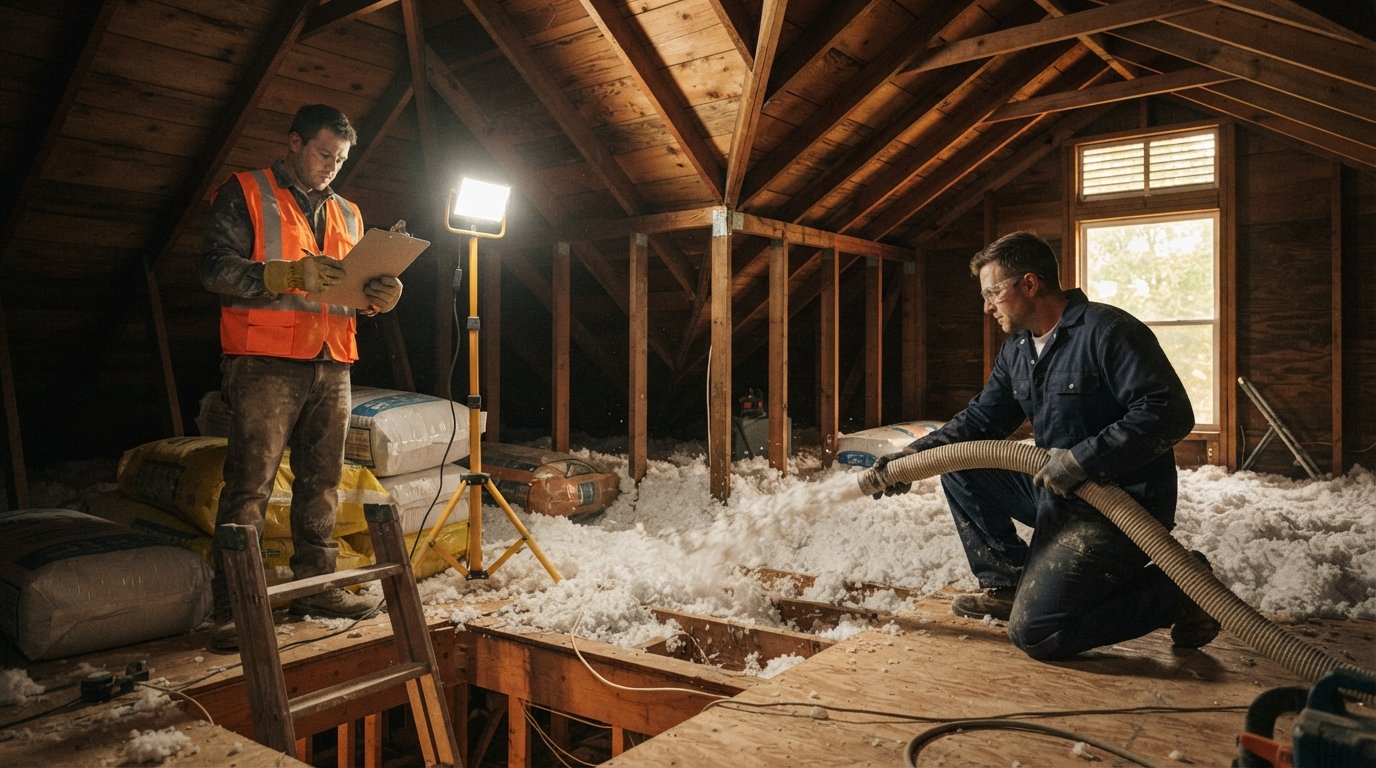
Attic Insulation Cost and Energy Savings: Payback Guide
See real attic insulation cost and energy savings numbers, from payback periods to rebates. Call (833)-365-8755 to compare local contractor quotes.

By Andrew Hayes
Learn more about Insulation Installation or Upgrade for guides, costs, and what to expect.
Compare Insulation Installation or Upgrade Pros Near You

Enter your ZIP code to compare top-rated local professionals and request free quotes.
Your attic is either the cheapest place in your house to save money or the most expensive place to lose it. A thin, compressed layer of insulation lets heated air escape all winter and turns your attic into a solar oven all summer, forcing your furnace and air conditioner to work overtime. The good news is that few home upgrades deliver a faster, more measurable return than fixing this one weak point. Understanding attic insulation cost and energy savings together, rather than as separate questions, is the key to deciding whether to act now, and how much to spend.
This guide breaks down real cost ranges by material and R-value, shows how the payback math actually works, explains the warning signs that your insulation is failing, and settles the air sealing versus insulation debate. By the end, you should be able to estimate your own project cost and your likely monthly savings before you call a single contractor.
What Attic Insulation Actually Costs in 2026
Attic insulation pricing depends on three variables: the material you choose, the R-value you want to reach, and whether your attic needs air sealing or other prep work first. Most homeowners targeting a standard upgrade from roughly R-19 to R-49 or R-60 in a vented attic should budget between $1,500 and $4,500 for blown-in fiberglass or cellulose, with the national average landing near $2,500. Spray foam pushes the number higher because it does two jobs at once, insulating and air sealing, but it also costs two to three times more per square foot.
Here is a realistic breakdown of installed costs by material, based on typical 1,000 to 1,500 square foot attics. These figures include labor and materials but not major repairs like removing old insulation or fixing roof leaks.
- Blown-in fiberglass: $1.00 to $1.80 per square foot installed, typically $1,200 to $2,700 total. The most common budget choice for topping up existing insulation.
- Blown-in cellulose: $1.20 to $2.20 per square foot installed, typically $1,500 to $3,300 total. Slightly denser than fiberglass, with better resistance to air movement.
- Fiberglass batts: $0.70 to $1.50 per square foot installed, typically $1,000 to $2,200 total. Best for accessible, regular joist bays and DIY-friendly projects.
- Open-cell spray foam: $2.50 to $4.50 per square foot installed, typically $2,500 to $6,500 total. Seals air leaks and insulates in one pass.
- Closed-cell spray foam: $3.50 to $6.00 per square foot installed, typically $3,500 to $9,000 total. Highest R-value per inch and acts as a vapor barrier, but the priciest option.
R-value targets matter as much as material. The U.S. Department of Energy recommends R-49 to R-60 for most of the country, with colder climates at the top of that range and mild climates closer to R-38 to R-49. If your attic currently sits at R-11 or R-19, which is common in homes built before 1990, you are likely several inches short. A contractor will measure existing depth, check for compression and moisture, and quote the added R-value needed rather than a full replacement, which keeps costs down.
Two cost factors catch homeowners off guard. First, if your attic has old insulation that is wet, contaminated, or blocking soffit vents, removal and disposal can add $500 to $1,500. Second, air sealing gaps around light fixtures, top plates, and plumbing penetrations usually adds $300 to $800 but is often the highest-value line item in the whole project. Skipping it to save money is a false economy, as explained later.
How Insulation Upgrades Pay You Back
The energy savings from attic insulation are not theoretical. The EPA estimates that homeowners who air seal and insulate their attics can save around 10 to 20 percent on total heating and cooling costs, and in poorly insulated homes the figure can climb higher. For a household spending $2,400 a year on energy, that translates to roughly $240 to $480 annually, and in extreme climates or older homes, $500 or more is realistic.
Run the payback math on a typical project. Suppose you spend $2,500 on blown-in cellulose plus air sealing, and you save $400 per year on utilities. Your simple payback is about six years, after which the savings are pure profit. If you live in a cold climate with expensive heating or a hot climate with heavy air conditioning use, the same project might pay back in three to four years. Spray foam at $6,000 with $500 in annual savings takes twelve years, which is why it makes the most sense in attics with complex shapes, ductwork in the attic, or severe air leakage.
Savings show up in less obvious places too. A well-insulated attic keeps the ceiling of your living space closer to room temperature, which means your HVAC system runs shorter cycles and experiences less wear. That can extend equipment life and delay a replacement. If your system is already aging, it is worth reading a detailed analysis of HVAC replacement cost and energy savings in 2026 before deciding whether to insulate first or replace equipment, because the right order of operations protects your budget. In most cases, sealing and insulating the attic first lets you buy a smaller, cheaper HVAC system later.
There are also non-energy financial benefits. Some utilities offer rebates of $200 to $1,000 for attic insulation and air sealing, and federal tax credits have historically covered a percentage of insulation material costs. Check with your utility and a tax professional, because stacking a rebate on top of a six-year payback can push the effective payback under four years. That is a return most home upgrades cannot match.
Signs Your Attic Insulation Is Costing You Money
Most homeowners do not discover an insulation problem until a utility bill spikes or a contractor points it out during an unrelated repair. The warning signs are consistent and easy to check yourself with a flashlight and a tape measure.
- Insulation depth below the joists: If you can see the tops of the ceiling joists, you almost certainly have less than R-30. In most attics, you should see 10 to 14 inches of blown-in material.
- Compressed or settled material: Insulation that looks flattened, matted, or half its original thickness has lost much of its R-value.
- Temperature swings by floor: Upstairs rooms that are hot in summer and cold in winter, while the ground floor stays comfortable, point to a leaky attic floor.
- Ice dams in winter: Uneven attic temperatures melt snow on the roof, which refreezes at the eaves. This is a classic insulation and air sealing failure.
- Drafts near outlets and top plates: Feel for moving air around electrical boxes, recessed lights, and the top of exterior walls on windy days.
- Visible gaps and dirty insulation: Dark stains on insulation often mark air pathways where filtered dust has accumulated over years.
If you spot two or more of these signs, get an inspection before the next heating or cooling season. A professional energy audit typically costs $200 to $500 and includes a blower door test that quantifies exactly how leaky your house is, which makes the savings projection far more accurate than a visual guess. Many contractors roll the audit cost into the project if you hire them.
Air Sealing First, Insulation Second
The single most common mistake homeowners make is adding insulation on top of an unsealed attic floor. Insulation slows heat transfer, but it does not stop air movement. If warm air can flow through gaps around light fixtures, plumbing stacks, and wall top plates, it will bypass your new insulation entirely and carry your heating dollars straight to the roof. Adding R-30 of fiberglass over a leaky ceiling is like putting on a thick coat with the zipper open.
The correct sequence is air sealing first, then insulation. Sealing means closing the pathways with caulk, spray foam, and rigid barriers: gaps around recessed lights rated for insulation contact, the tops of interior and exterior walls, plumbing and wiring penetrations, attic hatch frames, and any open stud cavities. This work is inexpensive relative to insulation, usually $300 to $800 for a typical attic, and it is what makes the insulation perform as rated. A blower door test before and after sealing typically shows a 15 to 30 percent reduction in whole-house air leakage, which directly reduces both heating and cooling bills.
Only after the attic floor is sealed should new insulation go down. In vented attics, keep insulation from blocking soffit vents by installing baffles, and maintain a clear path for air to move from the eaves to the ridge. In finished or conditioned attics, the insulation goes on the roof deck instead, and spray foam is usually the right tool because it seals and insulates in one step. Whichever path fits your home, ask contractors to quote sealing and insulation as separate line items so you can see what each is buying you.
When you are ready to get quotes, work with professionals who will inspect the attic, measure existing R-value, and explain the sealing plan before discussing materials. A service like HomeRemodelingsContractors helps homeowners plan affordable improvement projects and connect with experienced local contractors, which is exactly the kind of comparison shopping this project rewards. Get at least three itemized quotes and ask each contractor how they handle baffles, attic hatches, and recessed lights, because the details separate a lasting job from a quick one.
Budgeting the Project and Maximizing Your Return
Expect the total project to land between $1,500 and $4,500 for most homes using blown-in materials, with spray foam and complex attics running higher. Build your budget in three layers: the insulation itself, the air sealing package, and a contingency of 10 to 15 percent for surprises like old insulation removal, roof repairs discovered during inspection, or code-required venting changes. Ask contractors whether they will handle utility rebate paperwork, and confirm in writing that the quoted R-value is the installed value, not the settled value years later.
Prioritize spending in this order: air sealing, then insulation to the recommended R-value for your climate zone, then upgrades like radiant barriers or dehumidification only if your audit shows a specific need. This order maximizes attic insulation cost and energy savings per dollar, because sealing produces immediate savings and makes every inch of insulation you buy perform closer to its rating. Homeowners who follow it often see the first lower utility bill within one season and full payback within a handful of years.
The attic is one of the few places where a modest, well-planned investment quietly returns money month after month. Measure your current insulation depth this weekend, book an energy audit if the signs point to a problem, and get itemized quotes that separate sealing from insulation. Do that, and the cost and savings numbers stop being abstract and start working in your favor.
Learn more about Insulation Installation or Upgrade for guides, costs, and what to expect.
Compare Insulation Installation or Upgrade Pros Near You
Enter your ZIP code to compare top-rated local professionals and request free quotes.