
Renovation Waste Management and Dumpster Rental Guide
Plan renovation waste management and dumpster rental for homeowners the right way. Call (833)-365-8755 to compare local pros and get free estimates.

By Leo Cross
Learn more about Dumpster Rental for guides, costs, and what to expect.
Compare Dumpster Rental Pros Near You

Enter your ZIP code to compare top-rated local professionals and request free quotes.
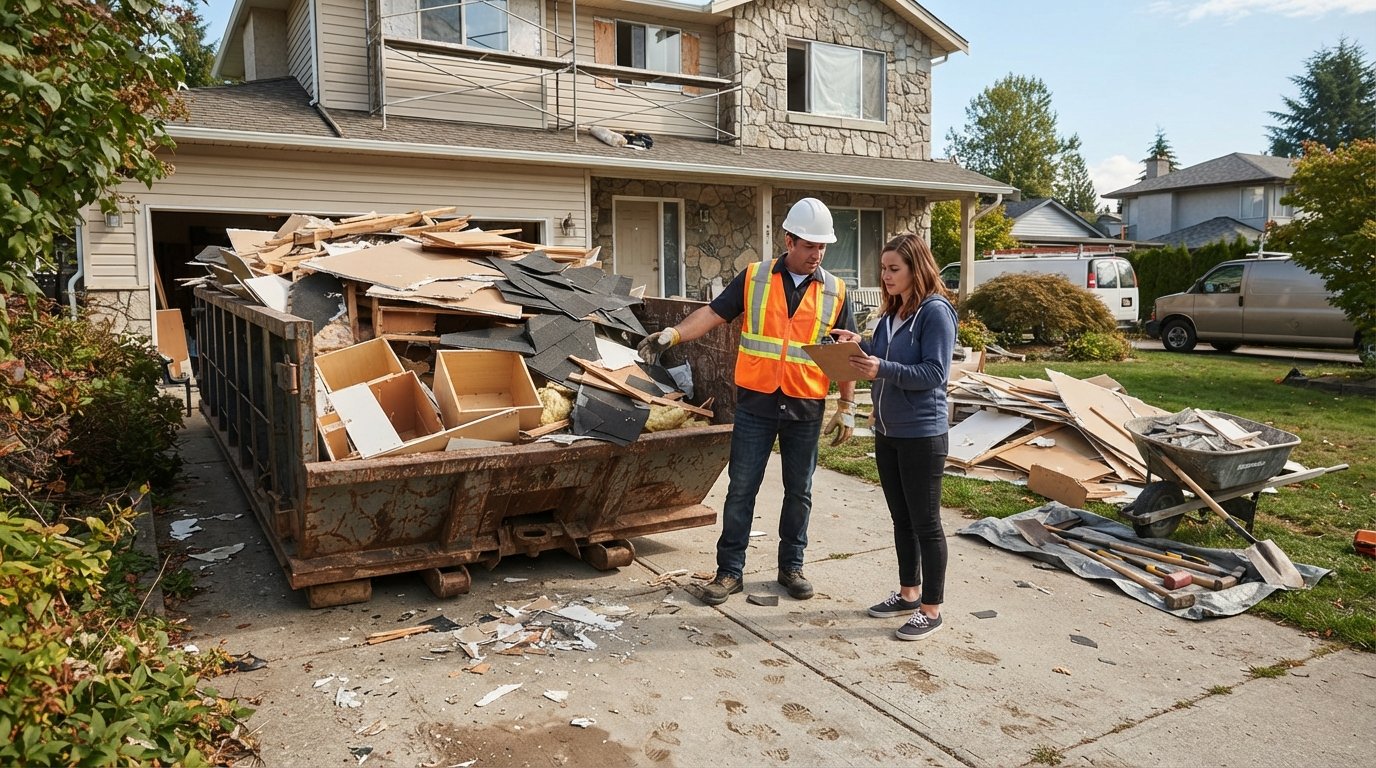
Your kitchen cabinets are stacked in the driveway. Drywall scraps are piling up in the garage. Somewhere under that heap is the hammer you need right now. A successful remodel depends as much on what you remove as what you install, and that is where renovation waste management and dumpster rental for homeowners becomes a make-or-break decision. The average kitchen remodel generates 60 to 100 pounds of debris per square foot, which means a modest 200 square foot project can produce several tons of material. Without a plan, that debris slows your crew, invites city fines, and turns your yard into a hazard. With the right approach, waste removal becomes a predictable line item you control instead of a chaotic expense that controls you.
Why Renovation Waste Management Belongs in Your Budget
Most homeowners build a renovation budget around materials and labor, then treat debris removal as an afterthought. That mistake costs money in three ways: rushed rental decisions, overweight dumpster fees, and project delays when crews cannot work around growing piles. Industry data suggests waste removal accounts for roughly 5 to 10 percent of a typical remodeling budget. On a $30,000 kitchen, that is $1,500 to $3,000 you need to plan for, not discover.
There is also a compliance angle. Many municipalities prohibit construction debris in standard curbside trash. Leaving drywall, treated lumber, or shingles at the curb can trigger citations, and some homeowners associations fine residents for visible debris piles. A dedicated container keeps your project legal, tidy, and on schedule. If you are also tracking project costs for tax purposes, our guide on renovation tax deductions and credits explains which improvement expenses may qualify, and clean disposal records make that paperwork far easier.
Finally, waste management protects your timeline. Contractors bill by the day. Every hour spent moving debris out of the work zone is an hour not spent installing your new floor. A strategically placed dumpster eliminates that friction and keeps trades moving.
How to Choose the Right Dumpster Size
Dumpster sizing is the single most common source of overpayment and under-provisioning. Rent too small and you pay for a second container or a swap fee. Rent too large and you pay for empty air. The right size depends on project scope, material weight, and how long the container will sit on your property.
Here is a practical starting framework based on typical homeowner projects:
- 10 cubic yards: Best for small bathroom remodels, flooring removal, or a single-room cleanout. Holds roughly 3 to 4 pickup truck loads.
- 15 cubic yards: A middle ground for minor kitchen updates, deck removal, or garage cleanouts. Fits in most driveways.
- 20 cubic yards: The most popular choice for full kitchen remodels, roofing tear-offs, and multi-room renovations. Holds 8 to 10 pickup loads.
- 30 cubic yards: Reserved for major additions, whole-home renovations, or large-scale demolition. Requires significant driveway space.
- 40 cubic yards: Heavy construction and commercial-scale residential projects only. Rarely needed for standard homeowner remodels.
Weight matters as much as volume. Concrete, brick, tile, and roofing shingles are extremely dense. A 20-yard container filled with shingles can weigh 12 tons or more, far exceeding standard weight allowances. If your project involves heavy materials, ask the rental company about heavy debris containers or separate hauling arrangements. You will often save money by keeping heavy inert material in a dedicated load rather than mixing it with bulky but light items like cabinets and cardboard.
Types of Renovation Debris and How to Sort Them
Not all debris is equal, and mixing categories creates problems. Some materials are banned from landfills, some carry extra fees, and some can be recycled or donated for tax benefits. Smart sorting also reduces your hauling cost because clean loads of single materials often qualify for lower disposal rates.
Common renovation debris falls into several groups. Bulky items like cabinets, doors, windows, and furniture take up space but weigh little. Heavy materials like concrete, tile, brick, and asphalt shingles drive weight charges. Hazardous items require special handling and should never go in a standard dumpster.
Items that generally cannot go in a standard rental container include:
- Paint, solvents, and other liquids
- Asbestos-containing materials from older homes
- Refrigerants, appliances with coolant, and electronics
- Tires, batteries, and motor oil
- Medical waste and contaminated materials
Before you toss anything, separate reusable items. Cabinets, light fixtures, doors, and hardware in good condition can be donated to habitat reuse stores or sold online. You may qualify for a charitable deduction, and you reduce what you pay to dispose of. Metals, cardboard, and clean wood can often be recycled at lower cost than landfill disposal. A few minutes of sorting at the source saves real money at the scale.
Permits, Placement, and Neighborhood Rules
Where your dumpster sits and whether you need permission to place it are details that can delay your project if ignored. Most companies allow placement in a private driveway at no extra charge. Street placement usually requires a municipal permit because the container occupies public right of way. Permit fees vary widely by city, from a modest administrative fee to a higher charge for long-term occupancy.
Homeowners association rules matter too. Many HOAs restrict how long a container may remain visible, require reflective markings, or prohibit street placement entirely. Check your governing documents before delivery day. If you live on a narrow street or have a steep driveway, tell the rental company in advance. Delivery trucks need clearance, and a failed delivery attempt can trigger a fee.
Protect your property as well. Place plywood under the container to prevent driveway scuffing, and avoid positioning it over septic fields, irrigation lines, or soft landscaping. If you are working with a general contractor, confirm who is responsible for the dumpster permit and placement. Clear responsibility prevents duplicate rentals and finger-pointing later. When you compare contractors through trusted local remodeling professionals, ask each bidder how they handle debris removal. A detailed answer signals an organized operation, while a vague one often means the mess becomes your problem.
What Dumpster Rental Costs and What Drives the Price
Dumpster rental pricing varies by region, container size, weight allowance, and rental duration. As a national baseline, expect roughly $250 to $500 for a 10-yard container, $350 to $650 for a 20-yard, and $500 to $900 for a 30-yard or larger unit. These figures include delivery, pickup, and a set weight allowance, often one to four tons depending on the provider.
The variables that push your bill higher are predictable once you know them. Overage charges apply when you exceed the included tonnage, typically billed per ton at a rate of $50 to $150. Extra rental days beyond the standard window, often seven to ten days, add daily fees. Prohibited items found in the container can trigger significant penalties, sometimes several hundred dollars plus the cost of proper disposal. Delivery to remote or difficult-access locations adds a surcharge.
The most effective way to control cost is to match container size to your actual debris volume and keep heavy materials separate. If you are unsure, ask the rental company for guidance based on your project description. Reputable providers will help you size correctly rather than upsell. Combining your dumpster rental with a broader project plan, including contractor bids and material costs, gives you a complete picture before you commit.
Reducing Waste Before It Reaches the Container
The cheapest debris is the debris you never create. Waste reduction starts at the planning stage and continues through demolition. Measure twice, order accurately, and choose materials with standard dimensions that minimize offcuts. When you deconstruct rather than demolish, you preserve materials for reuse or resale.
Deconstruction is slower than smashing, but it pays. A careful removal of cabinets, countertops, and fixtures keeps them intact for donation or resale. Salvage yards and reuse stores accept many building materials, and some offer pickup for large donations. Beyond the financial benefit, reducing landfill waste aligns with growing local regulations that require construction and demolition debris diversion.
You can also reduce volume by breaking down bulky items. Flatten cardboard, stack lumber neatly, and disassemble furniture. Compact loads use container space efficiently and reduce the chance of needing a second rental. Keep a designated area for recyclable metals and clean wood so they stay separate from general trash.
Coordinating Waste Removal With Your Contractor
Even if your contractor handles disposal, you should understand the arrangement. Some contractors include dumpster rental in their bid, others pass it through as a separate cost, and some expect the homeowner to arrange it. Clarify this in writing before work begins. The last thing you want is a crew standing idle because no container arrived.
Timing matters as much as responsibility. Schedule delivery for the day demolition begins, not a week earlier, to avoid paying for idle rental days. Schedule pickup promptly after the final load, and confirm the container is not overloaded. An overloaded container cannot be legally transported, and the driver will refuse pickup, leaving you with a full dumpster and a delay.
If you are managing multiple trades, such as a kitchen remodel followed by flooring and painting, consider whether one container can serve the entire sequence or whether staged rentals make more sense. A short-term 10-yard container for the demolition phase followed by a 20-yard for the build phase sometimes costs less than one long-term rental.
Safety Practices Around Your Dumpster
A dumpster is a heavy, open container that attracts curiosity and, unfortunately, illegal dumping. Keep it in a visible but controlled location. If neighbors or strangers fill your container with their own trash, you pay the overage. Some homeowners place a tarp or lock bar over the container when the site is unattended.
Keep children and pets away from the container. Debris can shift, nails protrude, and sharp edges are everywhere. Wear gloves and closed-toe boots when loading, and never climb into a dumpster to compress the load. Use a rake or pole to reposition items from outside. If your project involves asbestos, lead paint, or other hazardous materials common in pre-1980 homes, hire a licensed abatement professional. Those materials never belong in a standard rental container.
Frequently Asked Questions
How long can I keep a dumpster rental?
Most standard rentals include seven to ten days. Extensions are usually available for a daily fee, often $10 to $25 per day. If your project timeline is uncertain, ask about a longer initial window upfront, which is often cheaper than repeated extensions.
Can I put a dumpster on the street?
In many cities, yes, but only with a permit. Street placement typically requires an application, a fee, and sometimes reflective cones or markings. Without a permit, you risk a citation and forced removal. Driveway placement avoids the permit in most jurisdictions.
What happens if my dumpster is overweight?
The hauler will weigh the container at the disposal site. If it exceeds your included tonnage, you pay an overage fee per ton. To avoid surprises, keep heavy materials like concrete and shingles in a separate load and ask about weight allowances before delivery.
Can I rent a dumpster for a DIY project?
Absolutely. Dumpster rental is one of the most homeowner-friendly services available. You do not need a contractor to rent one. Just be honest about your debris type when booking so the company can recommend the right size and warn you about prohibited items.
Turning Waste Planning Into Project Savings
Renovation waste management and dumpster rental for homeowners is not glamorous, but it is one of the few parts of a remodel where careful planning produces immediate, measurable savings. Size the container correctly, sort debris strategically, respect permit and safety rules, and coordinate timing with your crew. Do those four things and you avoid the most common and expensive mistakes.
If you are still assembling your project team, start by getting free estimates from vetted local contractors who can advise on debris removal as part of the overall bid. A well-planned renovation handles waste as deliberately as it handles tile and trim, and your budget, schedule, and neighbors will all thank you for it.